
Sometimes you need to shrink the system C: drive in Windows 10; for example, if you forget to create a partition when installing Windows, there is no separate partition for programs. Then you can shrink the C: drive to create a new volume without reinstalling the OS. If there is not enough free space in the data volume such as drive D:, you can shrink C: to expand it without losing data.
Windows 10 has its native Disk Management tool to help resize a partition. The Shrink Volume function can shrink an NTFS partition without data loss in most cases. However, many people report that they cannot shrink the C: drive in Windows 10 using Disk Management. This article explains why Disk Management cannot shrink drive C: and how to solve this problem easily.
Why You Are Unable to Shrink Volume C: in Windows 10 Disk Management
Reason 1: Not Enough Free Space
In the Shrink Volume window, you may use the default maximum available space or enter an amount manually. If you entered an incorrectly large amount, or if many files were saved to this volume (especially when downloading Windows updates) before clicking Shrink, you may receive the error that "there is not enough space available".
Solution: Few people will encounter this issue; if it happens, simply repeat the shrinking operation.

Reason 2: File System or Other Error
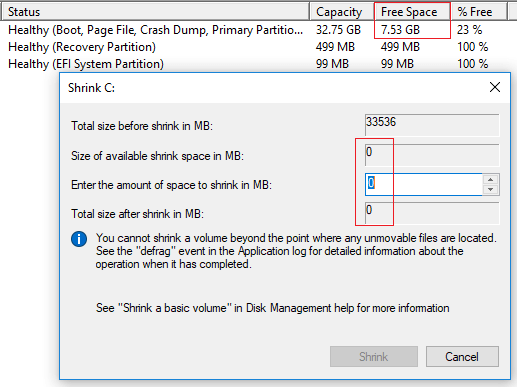
If there is a file system error or other system issue, you cannot shrink the C: drive with Disk Management even by 1MB (as shown in the first picture above).
Solution:
- Type cmd in the search box on the bottom left corner, right-click Command Prompt, and select Run as administrator.
- In the command window, type chkdsk C: /f /r and press Enter. It will ask you whether to schedule the check when the system restarts; type Y and press Enter.
- Reboot your computer.
Reason 3: Unmovable Files Are Present
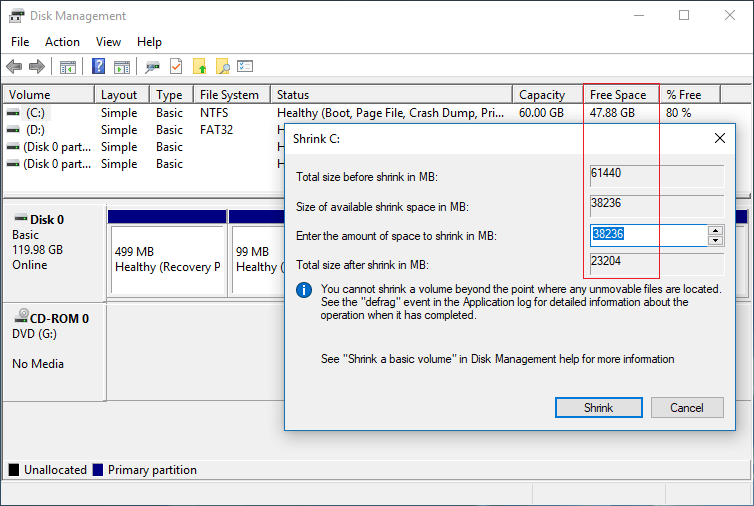
If there are some unmovable files, such as the paging file and hibernation files, located in volume C:, you can shrink the C: drive in most cases, but Disk Management only gives you a little space.
What to Do if You Cannot Shrink Partition C:
For the first two reasons, you can fix the issue without any software, but for the third one, you need to run third-party professional partitioning software such as NIUBI Partition Editor. It has a free edition for home users. It is able to move the "unmovable" files, so you can shrink the C: drive to its minimum size if you want.
Unlike Disk Management, which can only shrink a partition to the left and generate unallocated space on the right, NIUBI Partition Editor can generate unallocated space on either side.
Download NIUBI Partition Editor, right-click the C: drive, and select "Resize/Move Volume".
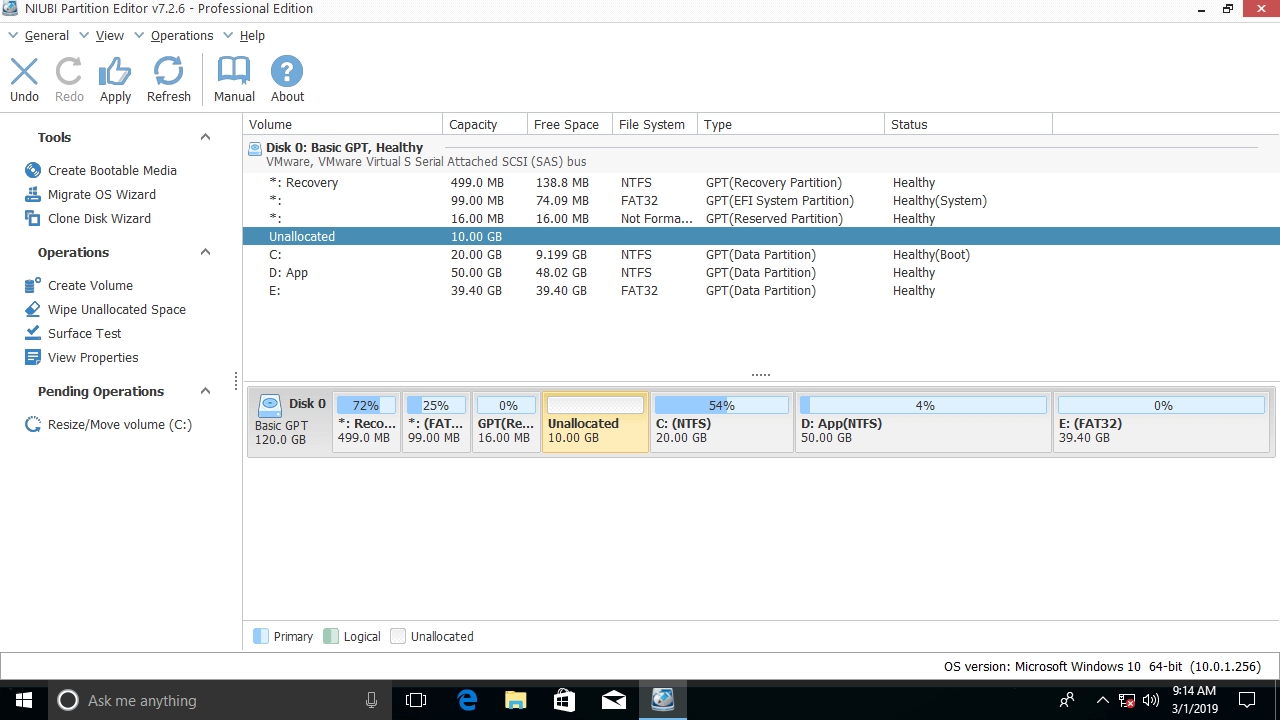
If you drag the left border to the right in the pop-up window:

Unallocated space is generated on the left side of the C: drive.
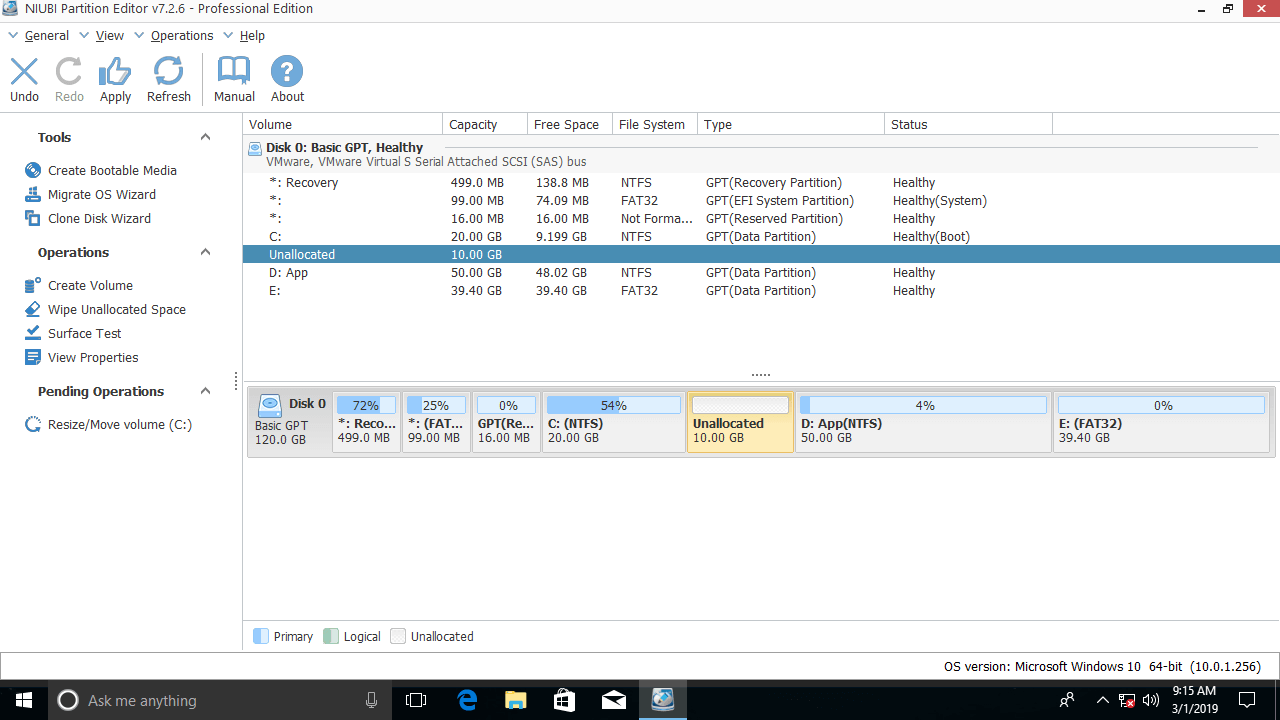
If you drag the right border to the left in the pop-up window:

Unallocated space is generated on the right side of the C: drive.
Cannot Shrink the C Drive to Expand D:
The Windows 10 Disk Management built-in Shrink Volume function can shrink partition C: to the left and generate unallocated space on the right side; however, the Extend Volume function cannot merge this unallocated space into volume D:.
If you want to extend the D: drive, right-click it and select "Resize/Move Volume" again; drag the left border to the left in the pop-up window.

Then, the unallocated space is merged into the D: drive.
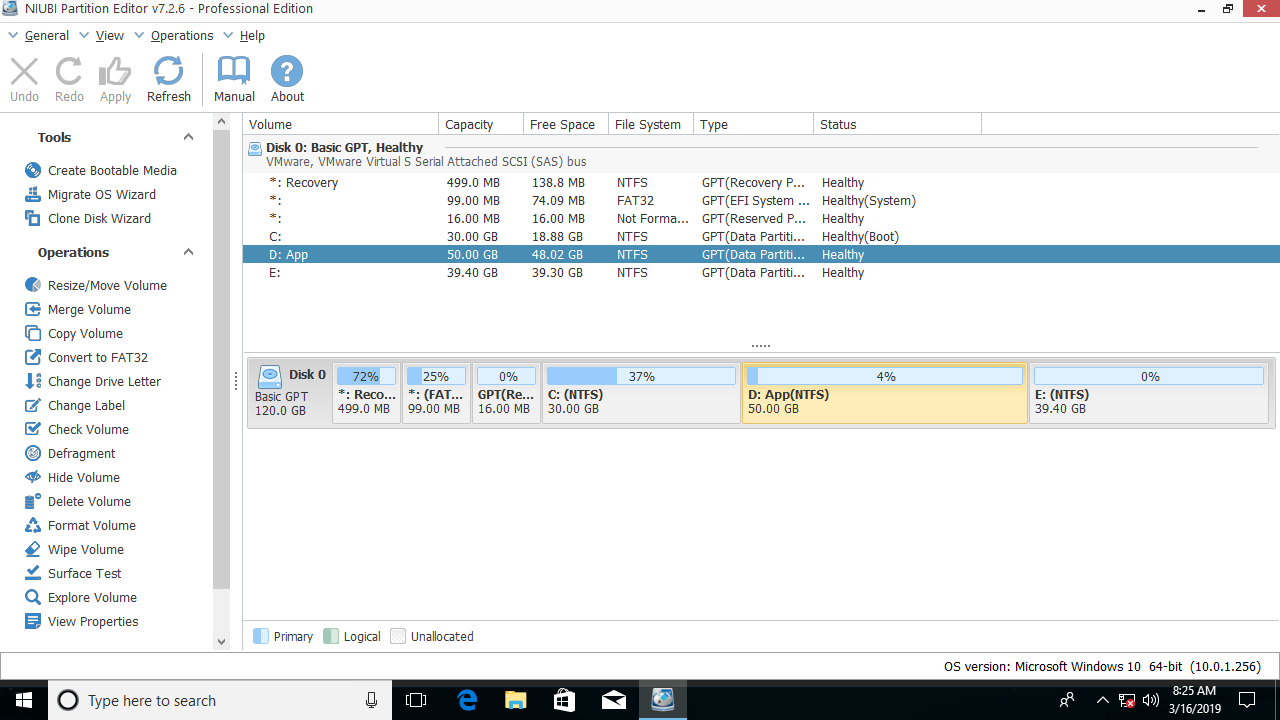
Besides shrinking and extending partitions, this free partition software helps you move, merge, copy, convert, defrag, check, scan, and hide partitions, etc.
 © 2009 - NIUBI Technology All Rights Reserved. |